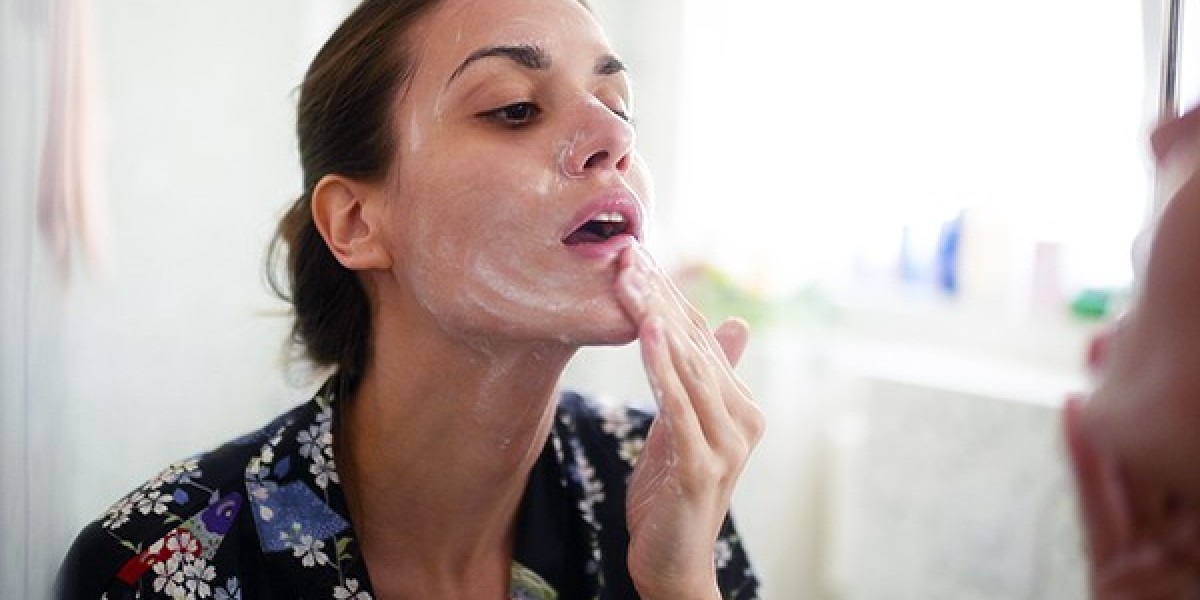
Step 1: Prep Your Skin Start with a clean, moisturized face. Apply a lightweight, oil-free moisturizer to hydrate your skin and create a smooth base for makeup.
Step 2: Apply Primer Apply a dime-sized amount of a pore-minimizing primer to your T-zone and any areas where you tend to get oily. This will help your makeup last longer throughout the school day.
Step 3: Even Out Your Skin Tone Use a BB cream or lightweight foundation that matches your skin tone. Apply it evenly all over your face using a makeup sponge or your fingers. Blend well, focusing on areas that need extra coverage.
Step 4: Conceal Imperfections Dab concealer onto any blemishes, dark circles, or redness. Blend it out gently using a makeup sponge or brush. Make sure to choose a concealer that matches your skin tone for a natural look.
Step 5: Set Your Base Dust a translucent setting powder over your face to set your makeup and control shine. Focus on the T-zone and areas prone to oiliness.
Step 6: Define Your Brows Using an eyebrow pencil or powder, lightly fill in your brows to define their shape. Use short, feathery strokes for a natural look. Brush through your brows with a spoolie brush to blend the product evenly.
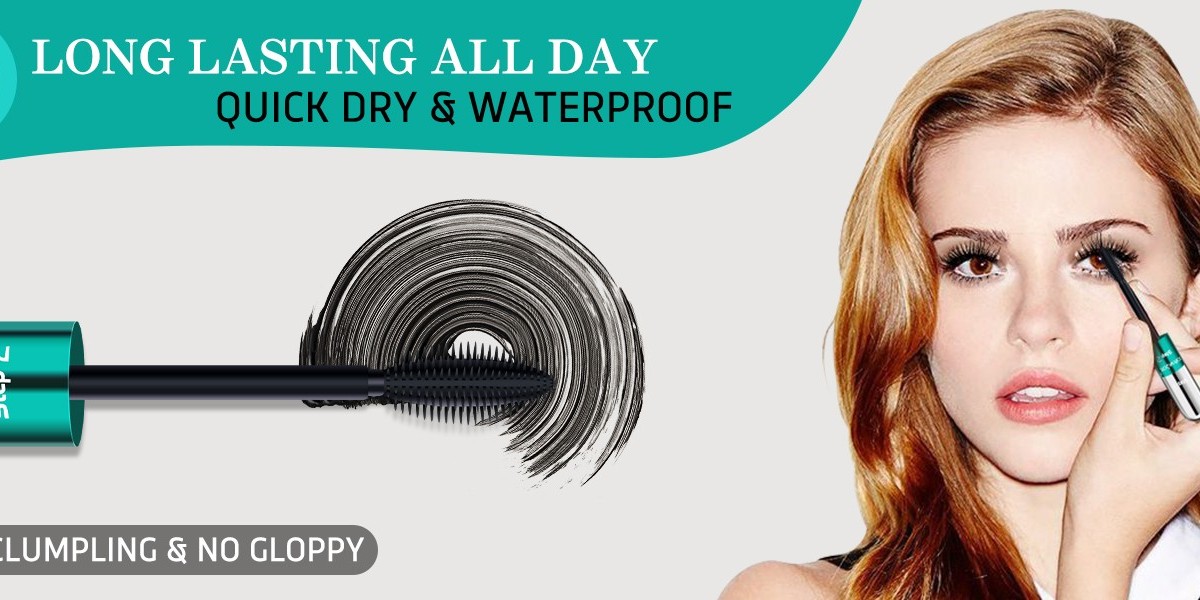
Step 7: Add Definition to Your Eyes Apply a neutral eyeshadow shade all over your lids as a base. Then, use a slightly darker shade in the crease to add definition. Finish with a coat of lengthening mascara on your top lashes.
Step 8: Add a Flush of Color Apply a natural-looking blush to the apples of your cheeks for a healthy flush. Smile to find the apples of your cheeks, then blend the blush upwards towards your temples.
Step 9: Highlight Your Features Apply a subtle highlighter to the high points of your face, such as the tops of your cheekbones, the bridge of your nose, and your cupid's bow. This will add a luminous glow to your complexion.
Step 10: Finish with Lip Color Choose a lip color that complements your natural lip shade. Opt for a tinted lip balm, sheer lipstick, or lip gloss for a low-maintenance look that adds a pop of color.
Step 11: Set Your Makeup Spritz your face with a makeup setting spray to lock in your makeup and help it last all day. Hold the bottle about arm's length away from your face and mist lightly.
And there you have it! A fresh and natural back-to-school makeup look using affordable drugstore beauty products.
Step 1: Prep Your Skin Start with a clean canvas. Cleanse your face thoroughly to remove any dirt, oil, and impurities. Follow up with a gentle exfoliation if needed to smooth the skin's texture. Then, apply a lightweight, oil-free moisturizer containing ingredients like hyaluronic acid or glycerin to hydrate and prime the skin without clogging pores.
Step 2: Apply Primer Select a silicone-based primer with mattifying properties to create a smooth base and control excess oil production. Concentrate the primer in the T-zone and areas prone to shine, such as the forehead, nose, and chin.
Step 3: Even Out Your Skin Tone Opt for a BB cream or a lightweight, buildable foundation formulated for everyday wear. Apply the product using a damp makeup sponge or stippling brush for a seamless, natural finish. Blend thoroughly, focusing on areas with uneven skin tone or imperfections.
Step 4: Conceal Imperfections Choose a creamy concealer that matches your skin tone for targeted coverage. Apply a small amount to blemishes, dark circles, and redness using a precision concealer brush or your fingertip. Gently blend the edges for a seamless transition with the foundation.
Step 5: Set Your Base Use a finely-milled translucent setting powder to lock in your base makeup and minimize shine. Load a powder brush with a small amount of product and press it onto the skin, focusing on the T-zone and areas prone to oiliness. Avoid over-powdering to maintain a natural, skin-like finish.
Step 6: Define Your Brows Select a brow pencil or powder that matches your hair color and complements your natural brow shape. Use short, light strokes to fill in sparse areas and define the arches. Brush through the brows with a spoolie brush to blend the product and soften any harsh lines.
Step 7: Add Definition to Your Eyes Opt for a neutral eyeshadow palette featuring matte and shimmer shades. Apply a matte taupe or beige eyeshadow all over the lid as a base. Define the crease with a slightly darker shade using a blending brush. Sweep a shimmer shade onto the center of the lid for a subtle pop of brightness. Finish with a coat of lengthening mascara on the top lashes to open up the eyes.
Step 8: Add a Flush of Color Choose a powder or cream blush in a natural, rosy hue for a youthful flush of color. Smile to locate the apples of your cheeks and apply the blush in a circular motion using a blush brush. Blend upwards towards the temples for a lifted effect.
Step 9: Highlight Your Features Highlight the high points of your face to enhance dimension and radiance. Opt for a champagne or pearl-toned highlighter with a finely-milled texture. Apply it to the tops of the cheekbones, bridge of the nose, cupid's bow, and inner corners of the eyes using a tapered highlighting brush or fingertip.
Step 10: Finish with Lip Color Choose a lip product that complements your skin tone and provides hydration and a hint of color. Opt for a tinted lip balm, sheer lipstick, or lip gloss in a natural shade. Apply directly to the lips for a subtle, polished finish.
Step 11: Set Your Makeup Complete your makeup routine by setting your makeup with a lightweight, alcohol-free setting spray. Hold the bottle approximately 8-10 inches away from your face and mist evenly in a circular motion. Allow the setting spray to dry completely to prolong the wear of your makeup throughout the day.
And there you have it! A detailed back-to-school makeup tutorial using affordable drugstore beauty products, focusing on technical application techniques for a flawless finish.